As of September of 2025, Handshook now integrates with nearly 8,000 apps via Zapier.com. This opens up new opportunities to integrate contact information from business card scans and event badges with many popular CRMs, Marketing, and Business Productivity Software solutions such as Salesforce, Hubspot, Mailchimp, Active Campaign, Zoho CRM, Pipedrive, Microsoft Dynamics, Microsoft Excel, and Google Sheets, to name a few.
In this article, we’ll cover:
- A list of popular third party apps available on Zapier to integrate with Handshook
- What triggers are available for integrating Handshook with other applications in Zapier
- How to connect Handshook with Zapier
- How the integration works and timing when you scan a business card or event badge
A list of popular third party apps available on Zapier to integrate with Handshook
The Handshook team has prepared predefined Zaps for the following common, third party apps:
- Salesforce
- Microsoft Excel
- Google Sheets
- Airtable
- Follow Up Boss
- Hubspot
- Mailchimp
- Active Campaign
- Zoho CRM
- Microsoft Dynamics
- Microsoft Outlook
- Google Gmail
Note: Handshook is compatible with many of the other 8,000 apps in Zapier’s catalog. The ones above are just the most commonly requested ones. Please check back as we frequently add new Zaps and instructions for each.
What triggers are available for integrating Handshook with other applications in Zapier?
In Handshook, the main action occurs when a physical business card, a digital business card, or an event badge is scanned and transposed to text. We call this a “New Connection”.
- New Connection – This is the only trigger available in Handshook at this time. When a business card or badge is scanned and the user saves it, if configured, it will trigger this action to send the new contact’s details to Zapier.
How to connect Handshook with Zapier
Our Zapier integration is a paid feature so besides downloading the app for iOS or Android, you must also have a paid account. Visit our pricing page for the latest pricing.
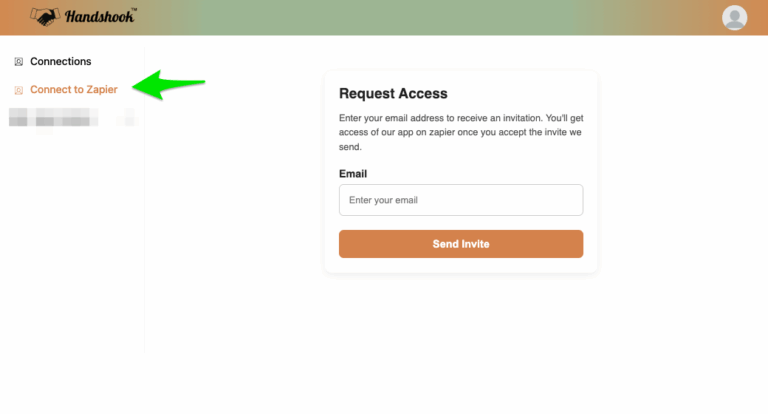
Once you have the app and a paid account, visit the web portal https://admin.handshook.app then click on the “Connect to Zapier” tab on the left.
Step 1) Enter an email in the Integration Request to the same email that owns the Zapier account you’d like to integrate with.
Step 2) Check your email and follow the instructions to link your Zapier account with your Handshook account.
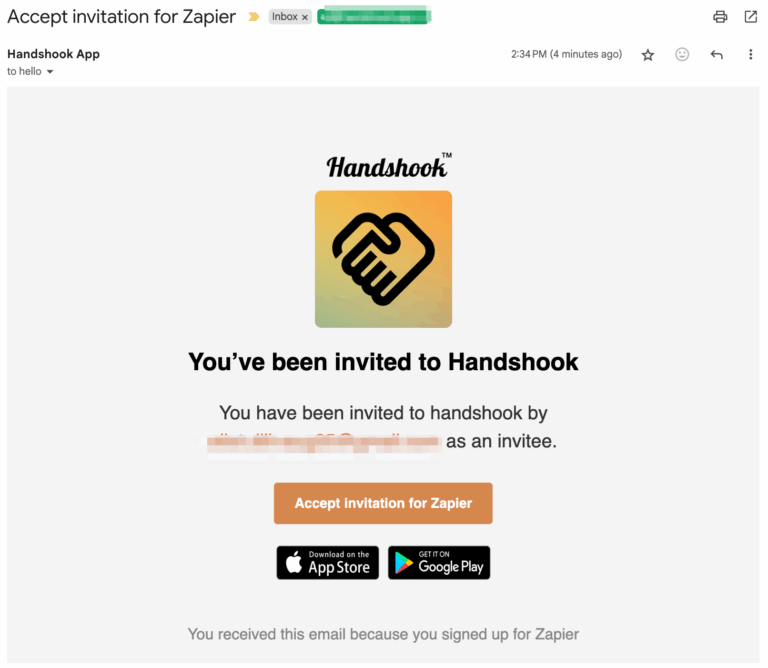
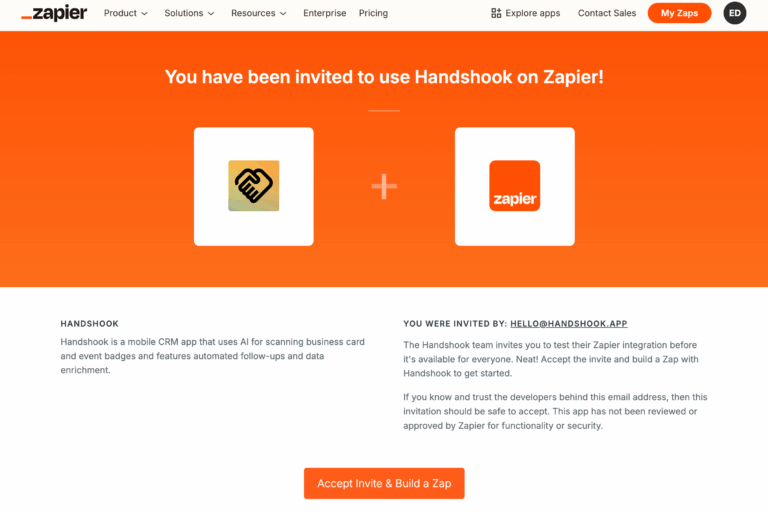
Step 3) Accept the invitation on Zapier’s website.
Step 4) (Optionally) link your Zapier account with your team members
In the Handshook dashboard, you can add any sub-users to your Zapier account so that all of your users’ business card scans follow the same process and are pushed to the same CRMs and Marketing Systems.
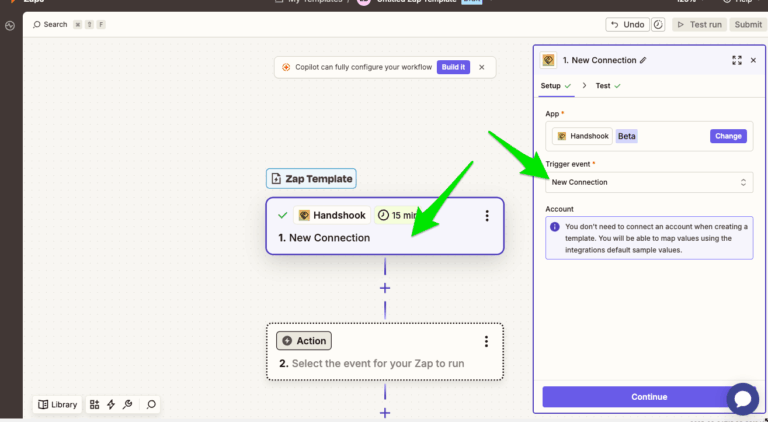
Step 5) Create your Zapier Workflow
General Instructions:
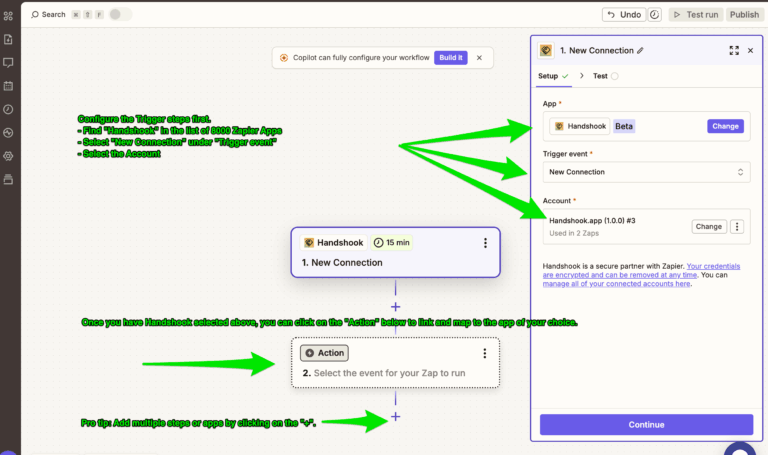
- In Zapier, click on “Create” in the left menu.
- In the “Trigger” section, search for Handshook, select “New Connection” as the “Trigger event”, and select the proper linked account.
- In the “Action” section, locate the third party app where you’d like to push business card data.
- Configure this from there. For instance, you can automatically perform tasks such as sending an email, adding a row to a spreadsheet, searching your CRM for an existing contact with the same email address, and/or inserting a new connection into your CRM or Marketing system.
Note: Visit the first section on this page “A list of popular third party apps available on Zapier to integrate with Handshook” to view instructions for your specific app.
How the integration works and timing when you scan a business card or event badge
Once your Zapier account is linked with your Handshook account and your users are linked, each time you or one of your team members scans a business card or event badge, prospect details will automatically arrive into your system that you have configured.
Note: Zapier integrations may only pole every 15 minutes, meaning that there may be up-to a 15 minute delay from scan to an action. This is normal.


